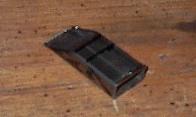
| Today, I'll pick up where I left off yesterday -- grinding the steel members to their final shapes. The portion of the chassis that is left to do contains the hardest pieces. Pieces like these; short lengths that will require lots of modification. |
 |
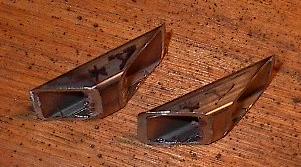
| And here's the result. They were really hard to hold on to and keep steady for precise edges, but I did the best I could. For these and the other really short piece, I had to make several modifications to get them to the point where I was happy with the fit. |
 |
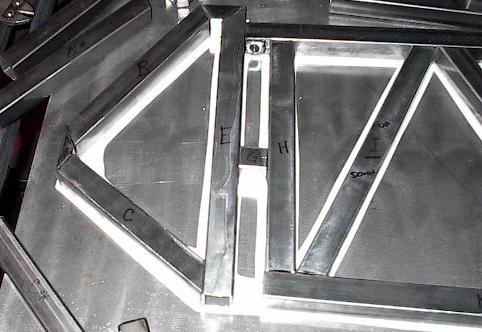
| Here's the section that I finished today. The fits here are a little sketchy around the short pieces, but I don't think it will be too much of a problem. Everything is close enough that I should be able to weld all the seams pretty easily, and I don't think any of the rough edges will compromise the strength. |
 |
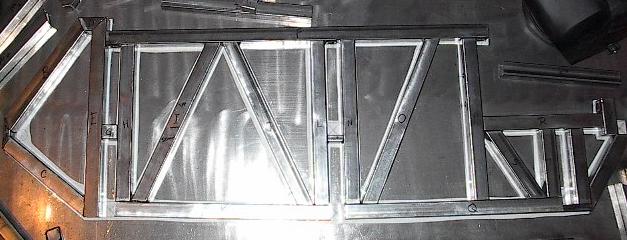
| And here's the whole structure laid out as it will be when I weld it. Now I just need to clamp everything into place and weld it, and I should have a very accurate chassis panel. |
 |
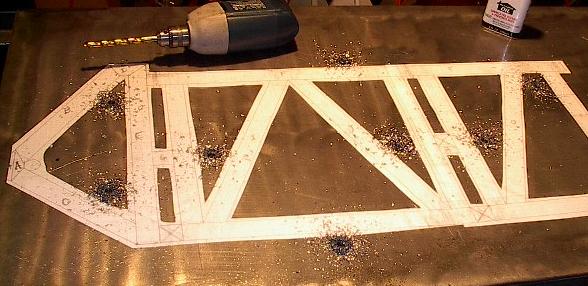
| Now it's time to address the clamping issue. I've been thinking a lot about how I'm going to keep everything exactly where I want it while I weld. I've decided that the best way to do this is to build clamps directly into the surface of my work table. This means drilling holes into my beautiful $55 table top, but that's what I bought it for. |
 |
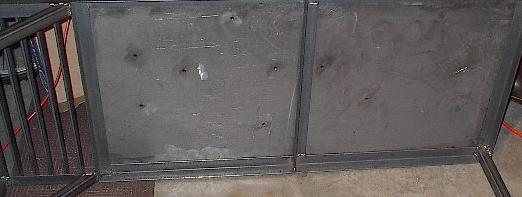
| Now I have to prepare the underside of the table to weld some weld nuts under the holes. I bought a box of 100 weld nuts, so I have plenty to spare for this. Here, I've tipped the table over and brushed the area around each hole. It should be ready to weld up. |
 |
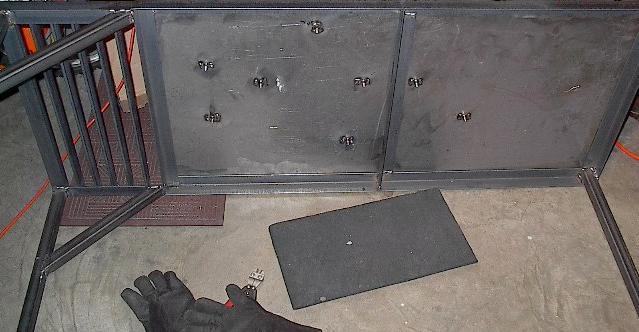
| Now I just have to bolt each weld nut on and weld it. These eight took much less time that the eight I welded onto the chassis because I don't care what they look like. It's a good thing this isn't a close-up picture because these welds are ugly. They get to live on the bottom of a table, so I don't care. |
 |
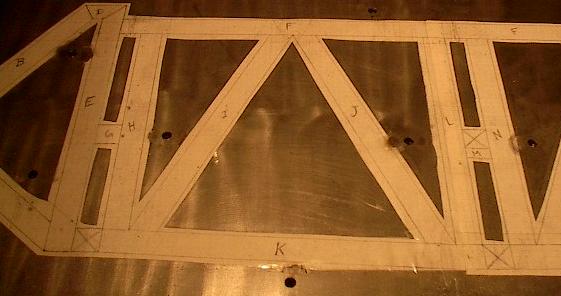
| Looks like welding on the other side of the table scorched my template a little bit. The lamination melted and the paper burned away a bit. No worries though; there isn't enough damage to impact its usefulness. |
 |
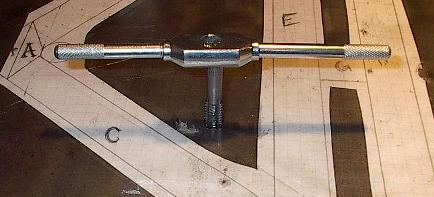
| Of course, I still have to clean out the threads of the weld nuts. I don't care what they look like, but I still need them to work. |
 |
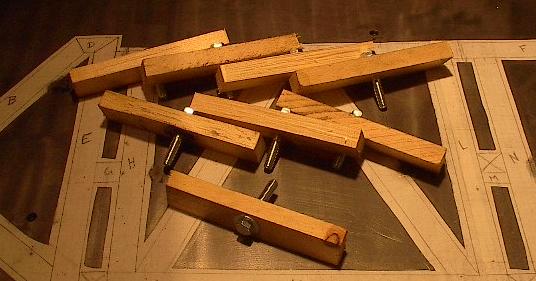
| Here are the clamps I'll use with the weld nuts I've attached to the table. These aren't anything special -- just a chunk of wood with a bolt through it. These should allow me to clamp everything down nice and securely while being versatile enough to do everything I want. |
 |
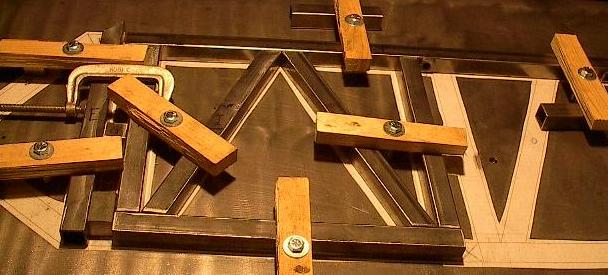
| Here I've laid out the first section I'm going to weld and clamped it down. This clamping system is particularly nice because it allows me to clamp down several pieces at once before I weld anything, giving me one final check on fit. |
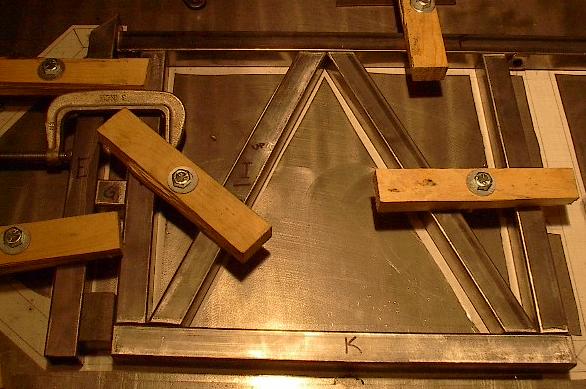 |
| It's a good thing, too, because I found a bad fit. I'm really happy that this is what I can consider a bad fit (that's less than a sixteenth of an inch off). This is be biggest deviance I've run into, and I can fix it with just a few seconds on the grinder. |
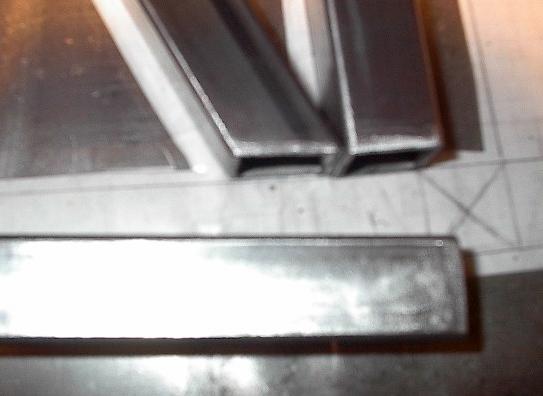 |
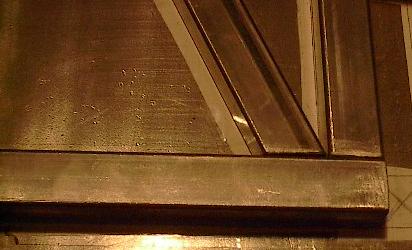
| After a little grinding, here we are. Now these three members come together just right, and all the members of this batch lay out on the template almost perfectly. |
 |
| Here's this chunk of the chassis all laid out, clamped down, and ready to be welded. It's getting late, so I'm going to call it a day here. This will all be waiting for me next time, and I should be able to start welding right away. After this is all welded together, I'll drill more holes, make more clamps, and start adding on to this section. Things are moving right along. |
 |