| Today, I started off with a few quick chores out in the garage. The first was disassembling the drive train. First of all, I needed to realign the left drive axle after the other day's testing. Second, I need to grind down some keys to get a better fit. Finally, I need to actually manufacture the drive wheels so I can cut the axles to length (they're starting to make it really hard to fit through doors). |
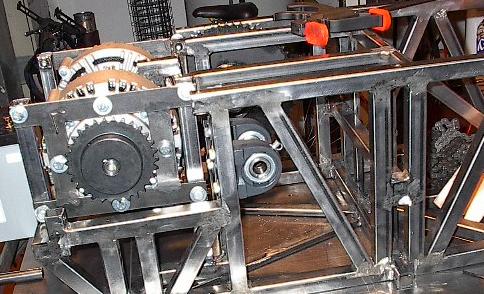 |
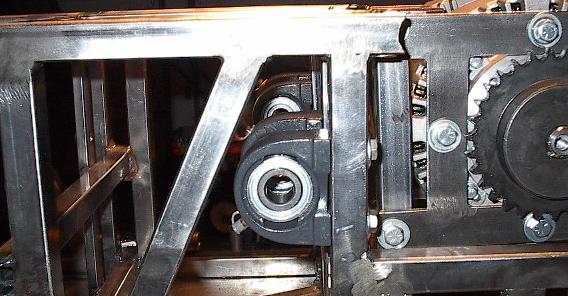
| Here it is with the drive axles and sprockets removed. This was a lot of work, but it's done now. |
 |
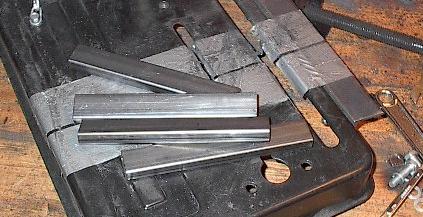
| Now that that's all squared away (I didn't take any pictures of grinding the key -- it wasn't very exciting), I've moved on to these steel pieces. These are going to be the foreword battery mounts. I'll bolt these onto the chassis to prevent the front two batteries from lifting up in case of a roll-over or unexpected inertial issues. |
 |
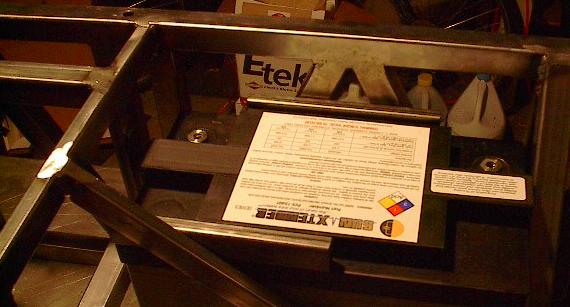
| Here's how they'll fit along the tops of the batteries. This positioning should keep them clear of the terminals, leave room for the wiring, and allow good strong connections to the chassis. |
 |
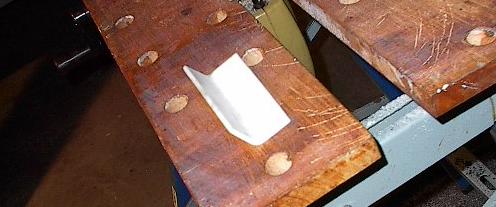
| Yesterday I took the Teflon out of the vice, and here's what it looks like now. Not bad, but with the tight space I'm talking about, that bend radius is just too big. I'm going to go ahead and cut the Teflon sheet into 1x4 inch pieces, which I'll glue into angles. |
 |
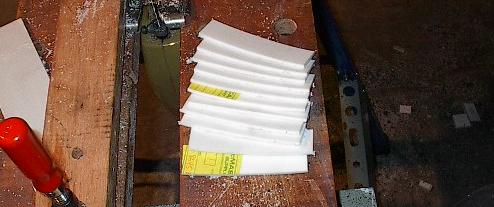
| This is one third of the sheet cut up into eleven pieces, each measuring one inch by four inches. I'm going to need 13 more. |
 |
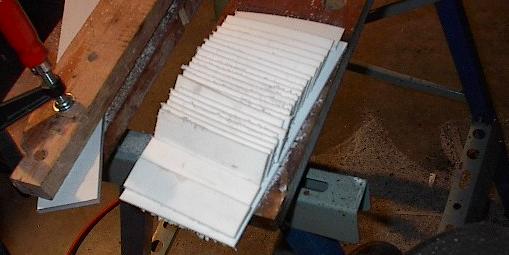
| Here's all 24 pieces. I plan to glue these into 12 angle pieces, which will each guide an axle along one of it's constraining members. At least, that's the plan. We'll see pretty soon here that this doesn't work on a number of levels. |
 |
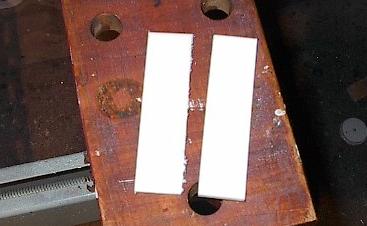
| The final step before gluing is deburring. With steel, this is done with the grinder. Luckily, because this Teflon is so soft, I can just do this stuff with my fingernail. This is good because it allows me to deburr all 8 edges on each of the 24 pieces relatively quickly. In this picture, the right piece has been deburred, while you can see the fringe still on the left piece. |
 |
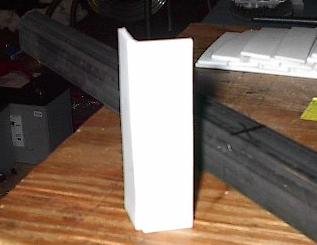
| This is a picture of two Teflon pieces glued into the angle shape I was planning on using. |
 |
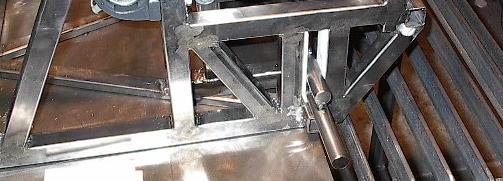
| I glued three more angles and went to test them out. Here I've slid an axle through the glides. This was a really tight fit, and I found very quickly that the glue wasn't going to hold. It wasn't sticking to the Teflon, and the extremely close-fitting axles were putting a lot of stress on the joints. It turns out that the tight fit is due to the fact that the Teflon sheet is slightly thicker than 0.125 inches, which means that the inner faces of the glides won't fit at all. |
 |
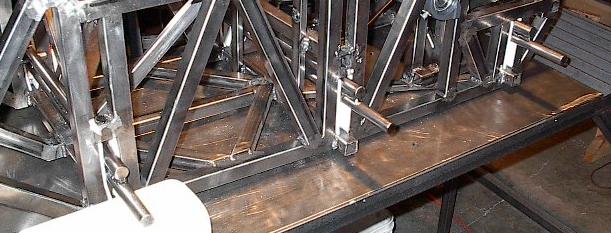
| Here I've fitted all three axles. The Teflon glides seem to be staying in place fairly well without the angle or any adhesive. The pressure from the axles seems to be enough for now, but we'll see how well they hold up after I get them suspended. The front axle was by far the worst as far as fit is concerned. You can see the Teflon warping due to the strain of the tight axle. It took a lot of hammering to get this into place. |
 |
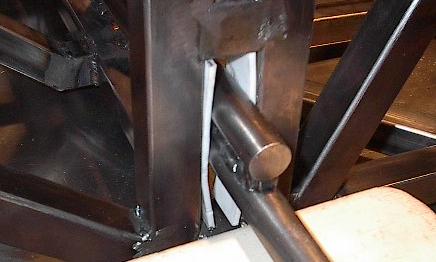
| Here's a close up of the warping. This won't actually hurt anything, but it is an indicator of just how much the Teflon is forced to deform in order to allow for the axles. I am hopeful that the glides will wear thinner with use, solving this problem. |
 |
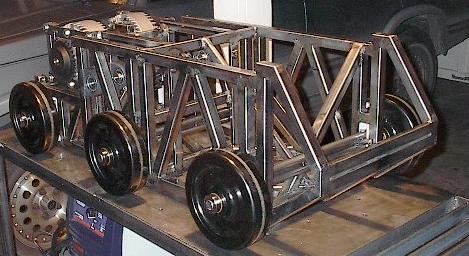
| With the axles is place, wheels seemed the next logical step. These are all idler wheels, which means that none of them are capable of transmitting any power. All of the drive force will the transmitted through the track, which will be guided along the ground by these wheels. For the time being, they'll make moving the robot a lot easier. |
 |
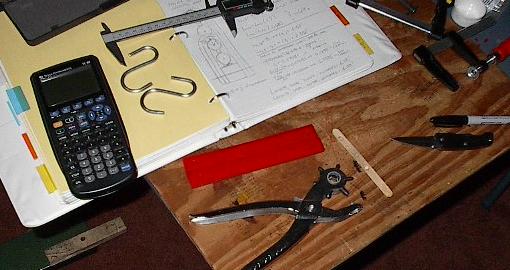
| Now I'm going to get started on the suspension straps. Here I've cut two strips of polyurethane tie-down strap, which will need to have holes cut into it. Once I have the appropriate strips made, I'll bolt them over the axles. |
 |
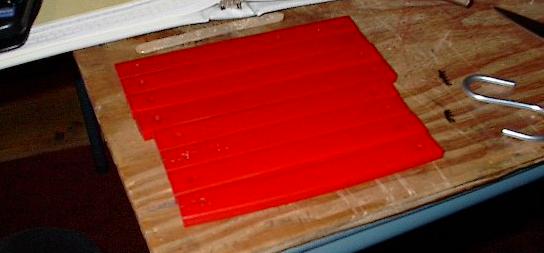
| Here's eight straps, enough to suspend a single axle. They'll be mounted in pairs, one of each length shown here. The slightly shorter strap will go over the axle, and the slightly longer strap will go over the first one. |
 |
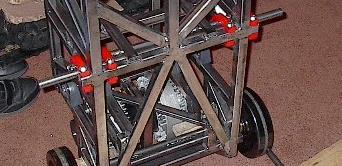
| It has been a long time since the last picture. I spent nearly four hours getting this set up, and very little of that time went well. I found that my bolts were an eighth of an inch too short, my shoulder washers simply refused to adhere to two straps for long enough to get them in place, and I couldn't get anything to line up under tension. I actually ended up unbolting the pins in the axle, removing it and the Teflon glides completely, attaching the straps with different bolts and washers than I'd planned, forced the axle back in (under the tensioned straps), and somehow managed to cram the Teflon back in. The whole operation was a major headache. |
 |
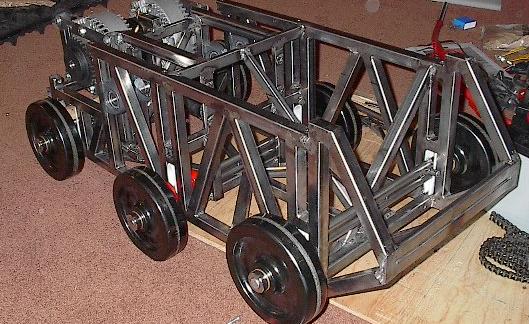
| Well, it was a nightmare to get into place, but the first axle is suspended. It sits at about the right level and even appears to have the appropriate tension and damping ratios. Now I just need a better way to get them on in the first place. |
 |
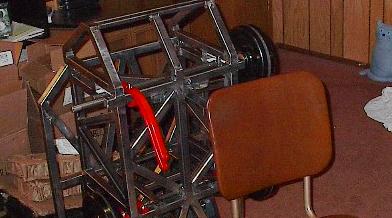
| This is my better way. What I've done here is cut one end of the straps, cut the holes, and then bolted it on. Not cutting one side of the straps gave me a handle to use to level the strap into place while I bolted it with my other hand. With it bolted into place, I am free to cut the excess off. There is one major problem with this -- it will only work once. If I ever take these off, I will not be able to put them back on using this method. Sadly, I will need to take them off in order to powder coat the chassis. |
 |
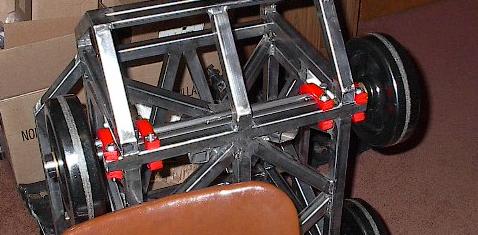
| Using this method, I've finished suspending the front axle, and it only took me a little over an hour. That went much better. You may notice that one of the bolts is in backwards. I am aware, but there's no way in hell I'm going to fix it. |
 |
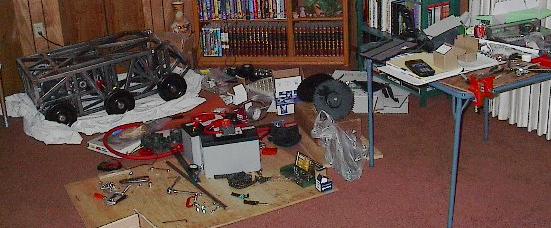
| Well, it's gotten really late. I would have liked to have finished all three axles, but I'm going to have to turn in now. I can finish up the last axle next time. |
 |